Hi everyone,
Welcome to my blog. Thanks so much for popping in to see me. Today I am bringing you a little instructional post and video to show how to use the Flowers and Leaves punch from the Annual Catalogue.
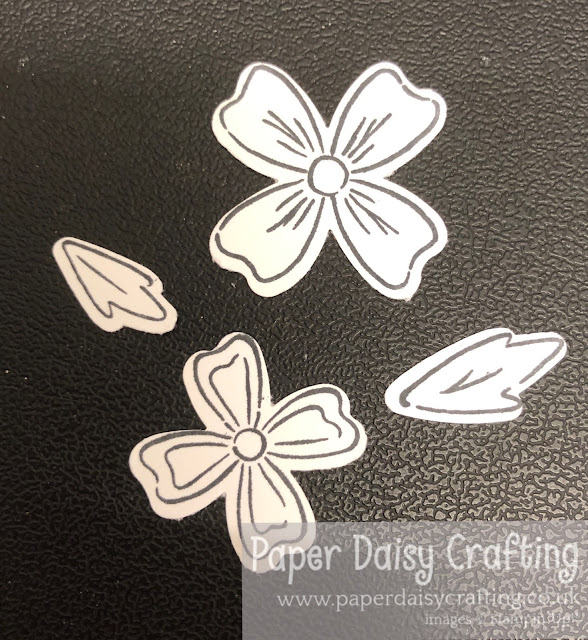
This punch coordinates with the Flowers of Friendship stamp set. It punches out the two flowers and leaves on the right.
I have recorded a short video to show you how to do it which you can watch by CLICKING HERE or on the image below.
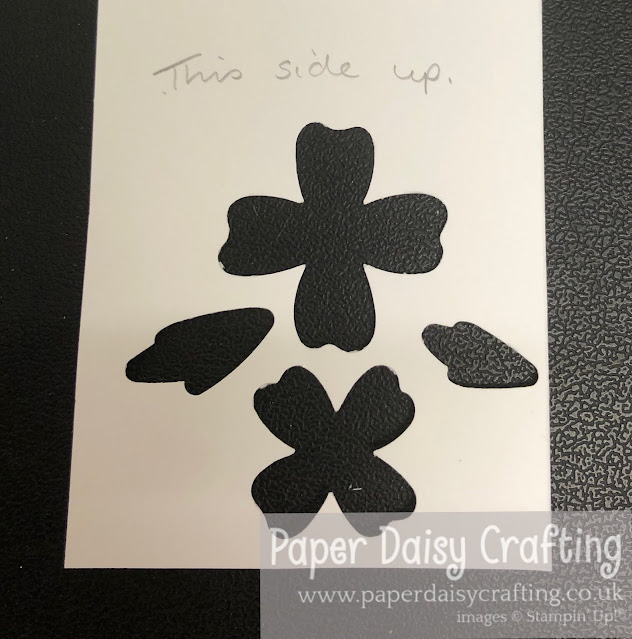
Here is the whole process, step by step in photos. First punch out all 4 shapes from a piece of card stock.
Then mount the large flower on a clear block. I used a Block D.
This is what you should see once the template is removed. It looks like the block isn't quite big enough in the photos but in real life it is fine!
You can then stamp all 4 images at once.
I hope you find that helpful. Of course it will work for any of our punches which punch out more than one image.
And I'll be back later this week with a new project featuring these punched flowers. Do come back to see that!
Bye for now, back soon,
If you'd like to make sure you don't miss any of my posts or projects, just sign up for email notifications by clicking the green button below. You will receive an email to confirm your email address which you will need to click on to complete the sign up. This email may go to your spam folder so do please check there after you sign up. Once signed up, you'll receive an email each time I publish a post. You can unsubscribe at any time!
All the products I have used to make this project are available from my online shop. Simply click "Shop Now" button on the top of this page or click any of the images below to go direct to that item in my online Stampin’ Up! shop. If you order from my online shop please use my monthly shopping code (below) to receive a free thank you gift from me as I really appreciate your business. (If your order is £150 or more then please do not use my code as you will earn Stampin' Rewards in your own right and can choose your own freebies!)
If you would prefer a more personal service, have any questions or need help with your order, please either send me an email or give me a ring. I'll be more than happy to help. You can also find me on Facebook, Instagram, Pinterest and YouTube - links on the left of this page.


No comments:
Post a Comment